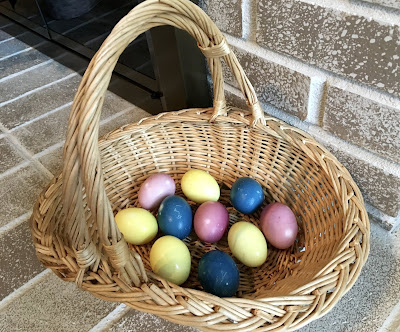
Natural Easter Egg Dye
 |
| Easter Bunny Ready! |
I'm not one for wasting food or advocating using food for play but I thought it would be cool to explore another amazing quality our food has. The plan was to make our own dye by using minimal ingredients. Each color will dye about 3-4 eggs so hard-boil your eggs accordingly.
Yellow- Turmeric (or Cumin), 3-4 tablespoons
Blue- red cabbage, that's right, "red" cabbage, 2 cups
Purple/Red- beets, 2 cups diced or shredded
To make the different batches of dye you will need to do a little prep work: peel, chop, shred, measure etc. See below for the steps to extract the color from each prepped ingredient.
 |
| Cabbage boiling away, smelled great ;) |
-Add the color component of choice to about 2 cups boiling water
-Summer for at least 30 minutes; or longer for deeper color
-Strain any pieces and add to a large jar or glass container
-Cool liquid to room temperature, typically takes about 3 hours
-Add 2 tablespoons of white vinegar, stir, and add 3-4 hard-boiled eggs
-Seal the container or jar and let sit in the refrigerator overnight or until desired color is reached
(for a shiny finish rub eggs with vegetable oil- I didn't and they were still plenty shiny)
 |
| Egg salad sandwich, anyone? |


Comments
Post a Comment